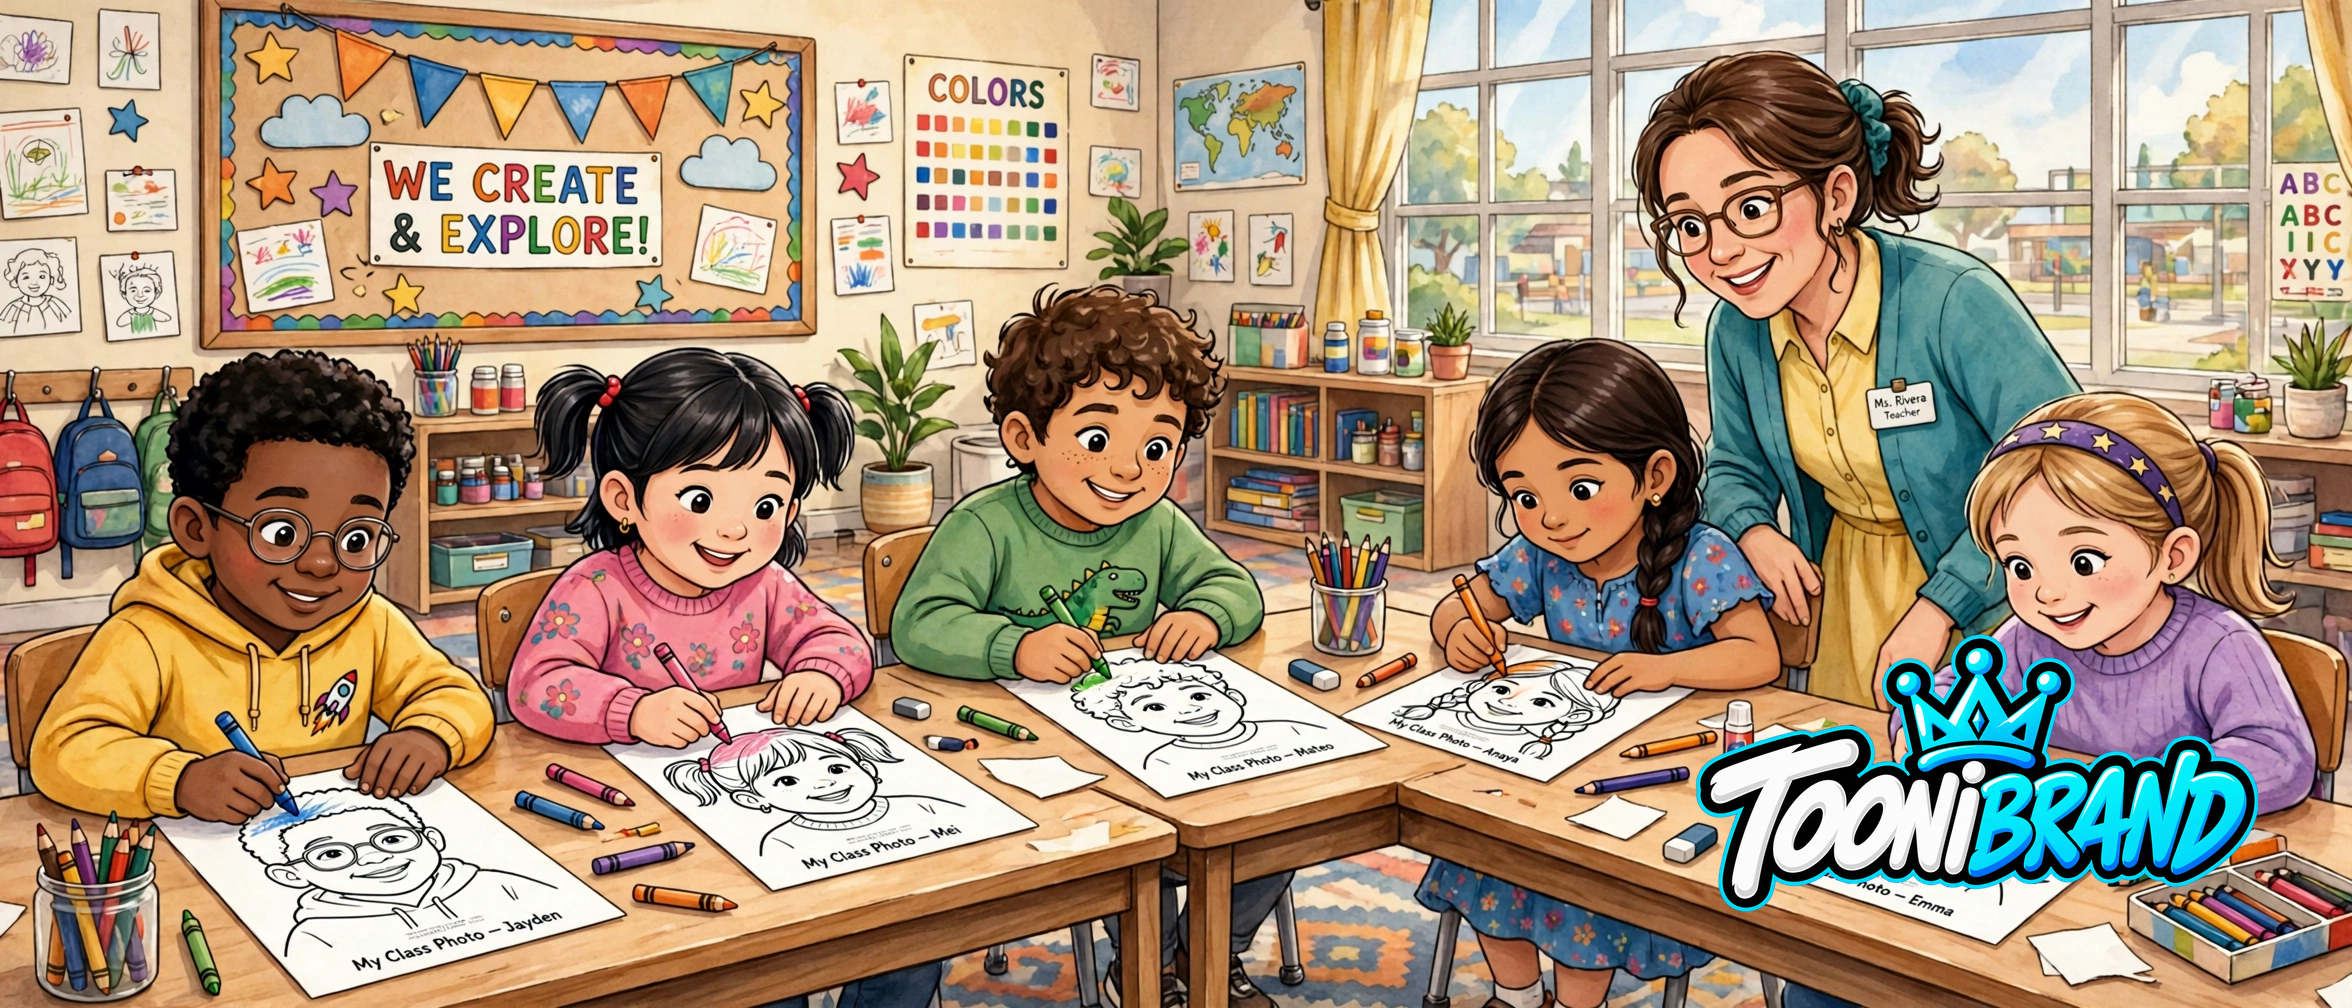
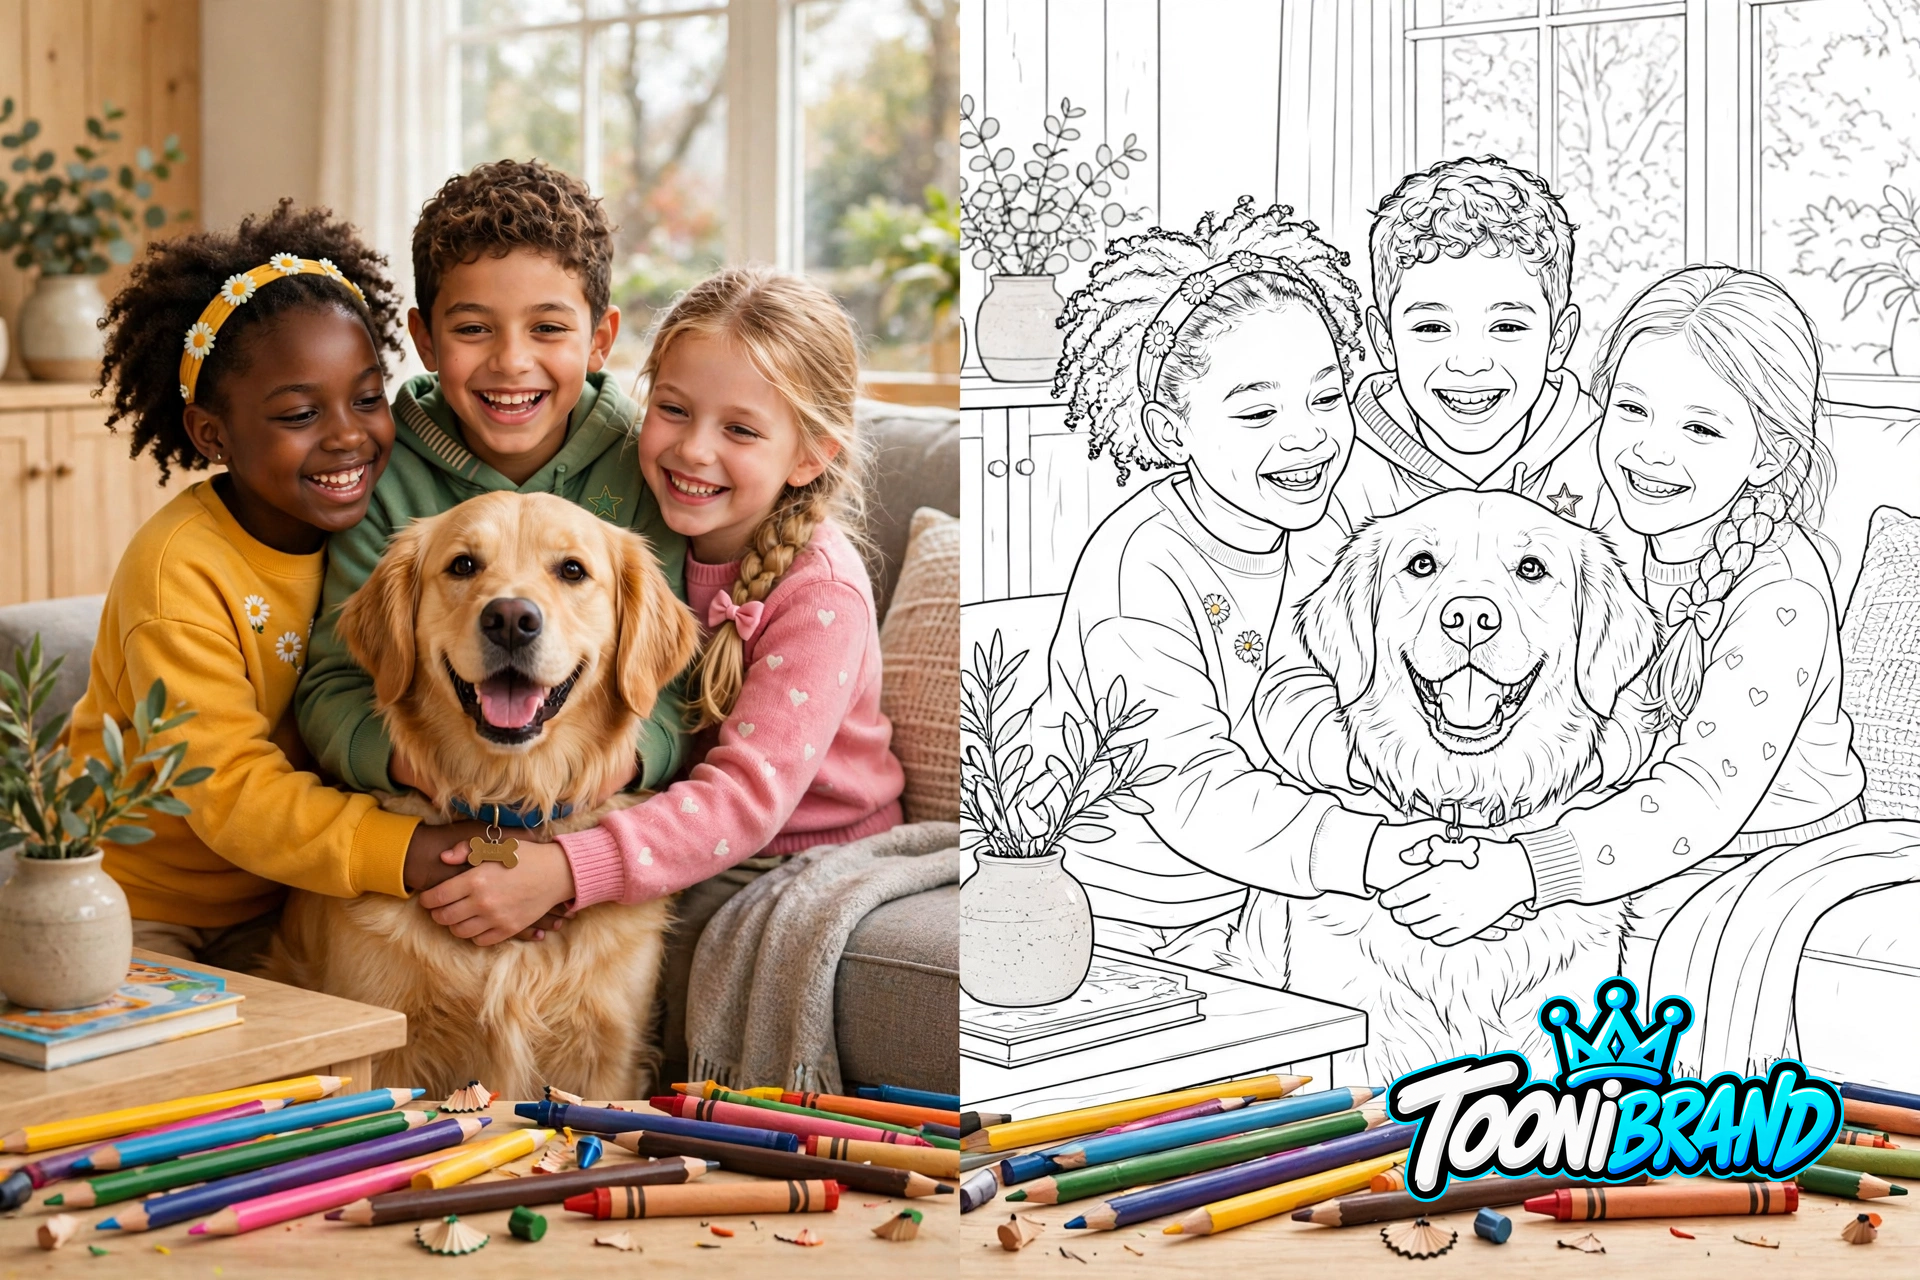
If you homeschool, you know the best lessons rarely come from a worksheet packet. They come from the walk where your child found a caterpillar, the kitchen experiment that actually fizzed, or the museum trip everyone kept talking about at dinner. Coloring pages made from your own photos let you hold onto that moment — and turn it into art, review, and quiet, focused work.
At TooniBRAND, we hear from homeschool families who want activities that are personal, screen-light, and ready without an hour of prep. Here is how to use custom coloring pages for kids as a real part of your homeschool week, not just filler.
Why Your Own Photos Work Better
A generic coloring page of a butterfly is fine. A page made from the butterfly your child watched in your own garden is a story. That personal connection changes everything.
First, kids pay attention longer. They can spot their own hands holding the jar, their sibling in the background, and the plant they learned to name. They color with care because the page is theirs.
Second, personal pages help memory stick. When children color a scene from a lesson, they replay what they saw and wondered about. It is a gentle review — no quiz, no pressure, just hands busy while the mind sorts it out.
Third, finished pages become a record of your year. Tuck them into a portfolio or nature journal, and you have dated, personal evidence of learning that is far more joyful than a stack of identical printables.
Five Homeschool Uses Families Love
1. Nature study that continues at home. Go on a walk, take clear photos of leaves, birds, bugs, rocks, or the season changing in your neighborhood, then turn a photo into a coloring page when you get back. Kids can label parts, write one new fact underneath, and add the page to their nature journal.
2. Science lessons kids can revisit. Photograph the volcano, the bean sprout on day three and day ten, or the owl pellet finds spread out on a tray. Coloring those real moments helps younger kids observe closely and gives older kids a calm way to review vocabulary while they work.
3. History and field trips, made personal. After a visit to a historic home, a farm, a fire station, or a local landmark, turn your favorite photo into a page. Writing about the trip flows more easily when a child has just spent twenty minutes coloring the place itself.
4. Art without the prep stress. Not every art lesson needs new supplies or a complicated technique. Personalized pages give every age a good starting point: little ones work on grip and bigger spaces, while older children add shading, patterns, and backgrounds. Everyone sits at the same table, working from the same memory, at their own level.
5. Quiet time, morning baskets, and travel days. Keep a folder of printed family pages in your morning basket, quiet-time bin, or car kit. A page from a birthday, a pet, or last month’s hike needs no instructions and no screen — just crayons and a little breathing room in the day.
How to Make Your First Homeschool Pages
Step 1: Choose photos with one clear subject. Bright, well-lit photos work best — a child holding a pumpkin, your family dog in the yard, a close-up of a sunflower, or a group shot from a field trip. A clear main subject makes for clean, satisfying lines.
Step 2: Upload them to the creator. Head to tooniai.co and open the Create tab. Upload your photo and our tool traces the important lines — faces, animals, plants, and landmarks — and turns it into clean black-and-white line art, ready to print at home.
Step 3: Pick the right detail for each child. For ages 4 to 6, choose simpler lines with big, open spaces. For ages 7 to 9, keep medium detail so the page holds attention a little longer. For ages 10 to 12, keep the fuller detail — smaller sections and backgrounds make a challenge they can be proud of finishing.
Step 4: Print and keep the files. Print single-sided on regular paper for crayons, or thicker paper for markers. Write the date and lesson on the back, and save the digital files so a beloved page can be reprinted for a sibling or a second try in new colors.
Simple Ways to Extend the Learning
Add one light prompt, not a whole assignment. Ask for three labels, one sentence about the day, or a border showing what happened next.
Let children choose the photo. When a learner picks the moment, they own the activity, and the table settles faster.
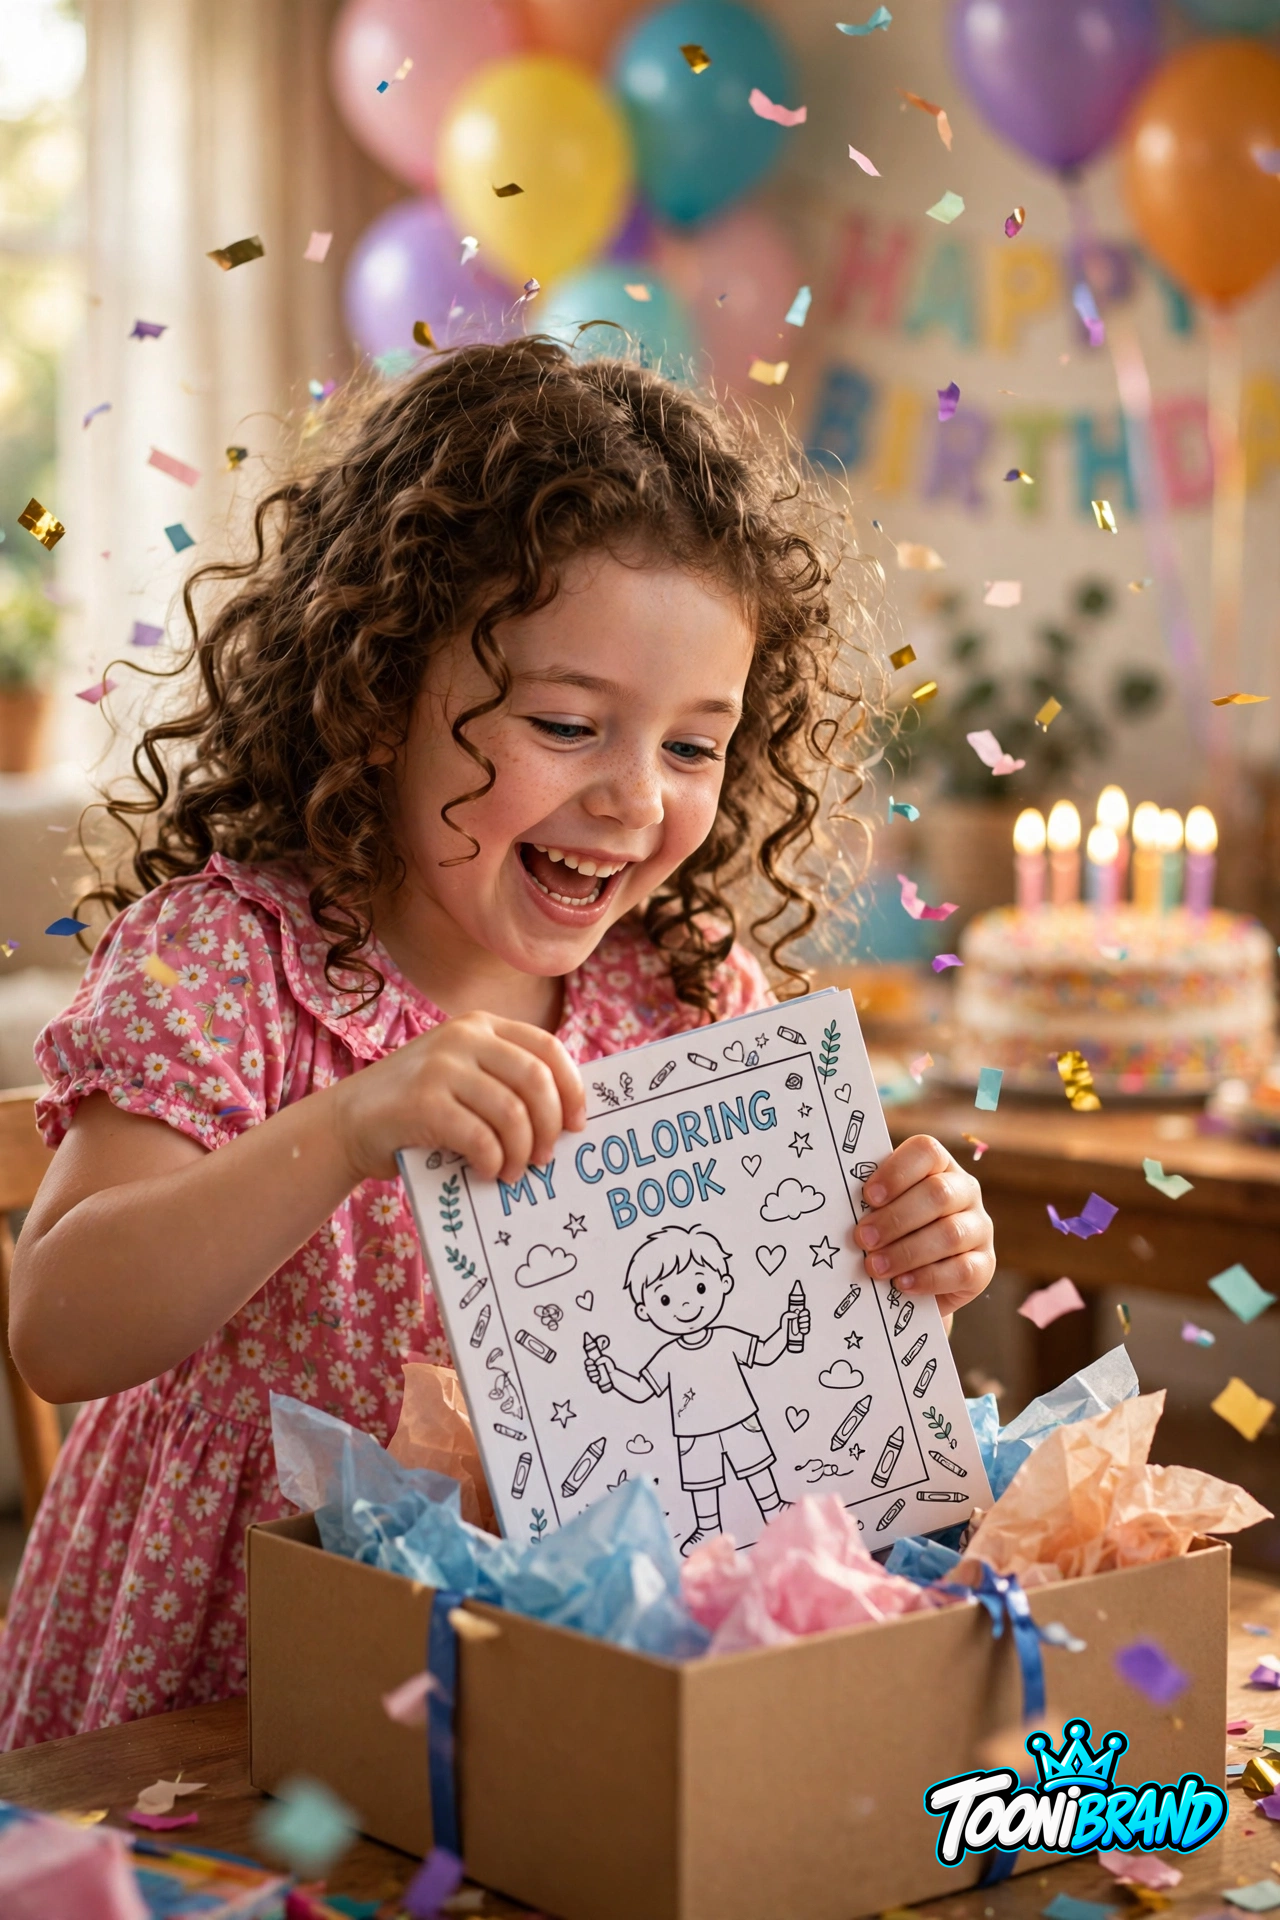
Build a book over time. Collect a term’s worth of pages — nature, science, trips, family celebrations — and you have a personalized coloring book that is also a keepsake of your homeschool year. Browse the TooniBRAND store when you are ready to turn those pages into a bound book to keep or share with grandparents.
Ready to Try It This Week?
Pick one favorite photo from your last walk, lesson, or family day and see what happens when your child meets it again as a page to color. Head to the Create tab at tooniai.co and upload your photo to get started today.
Imagine It. Create It. Make It Yours.
— The TooniBRAND Customer Care Team